How to Create Custom FontAwesome Icons
May 29, 2020 Stardate: 73874.1 Tagged as: Ubuntu Pelican FontAwesome
I installed a “stardate” plugin for my pelican generated blog and now I want an icon to show next to it like my standard date. I use FontAwesome but they don’t have a standard icon for Star Trek - but they have Star Wars <corporate bias!!! ;-) > This article shows how to create a custom icon using IcoMoon.io, a vey popular alternative to FontAwesome. I also found a tricky issue when I used both FontAwesome and my custom IcoMoon icon at the same time.
Unless you are artistically gifted you will need to search the interwebs for a legal image to download. In fact, even if you are artistic, for most stuff an image has already been created. You will need a vector graphic .svg file, but I found that most stuff is created as a .png file. Don’t worry, I’ll show you how to convert your image to a vector graphic file in Ubuntu 20.04. I also found a tricky issue when I used both FontAwesome and my custom IcoMoon icon at the same time.
So look and find a clean black and white image for your icon. Remember that we are creating a FontAwesome type of icon so they will be small, so find something suitable. I found what I wanted on http://clipart-library.com/ and downloaded a .png file to my desktop. Next, you will need Inkscape. I’m pretty sure Inkscape comes pre-installed, but if not follow these installation instructions.
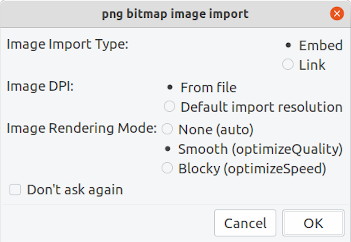
Open the file in Inkscape and a png import option box will appear. I chose the following options:
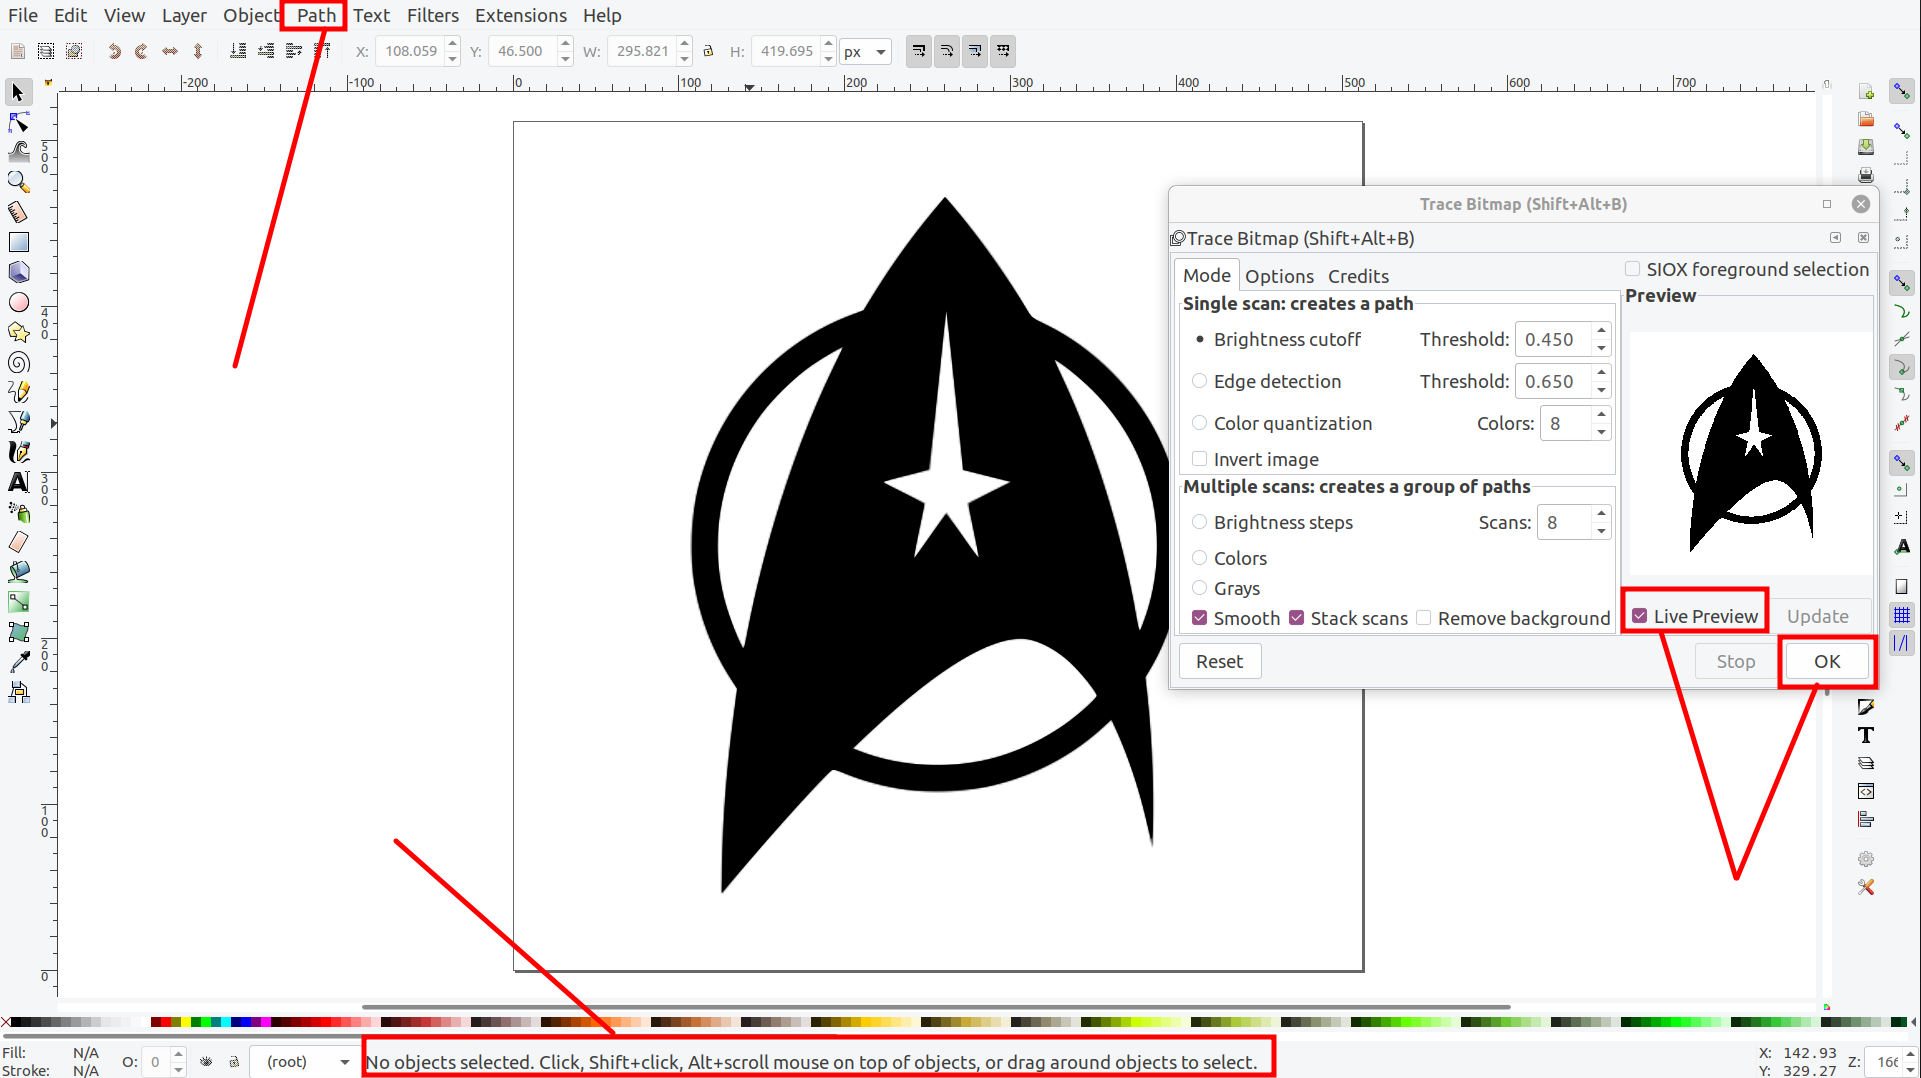
Once the image is imported you must select Path > Trace Bitmap… and another dialog box will appear. This box is a little wonky. It was suggested on another article to select the Live Preview option so you know if everything is working. For me, I noticed a message on the bottom saying to “click the image” which is odd. So I clicked the background image and then the live preview worked. Like I said…wonky. Next click OK. Nothing seems to happen and there is no feedback. But you can close the dialog box and save the image now.
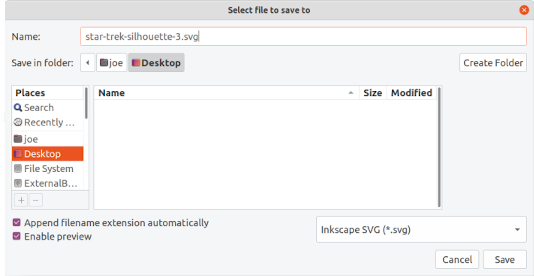
Next Save As the file as a .svg file.
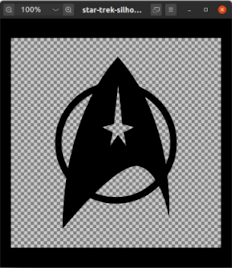
You can verify by opening the svg file in image viewer.
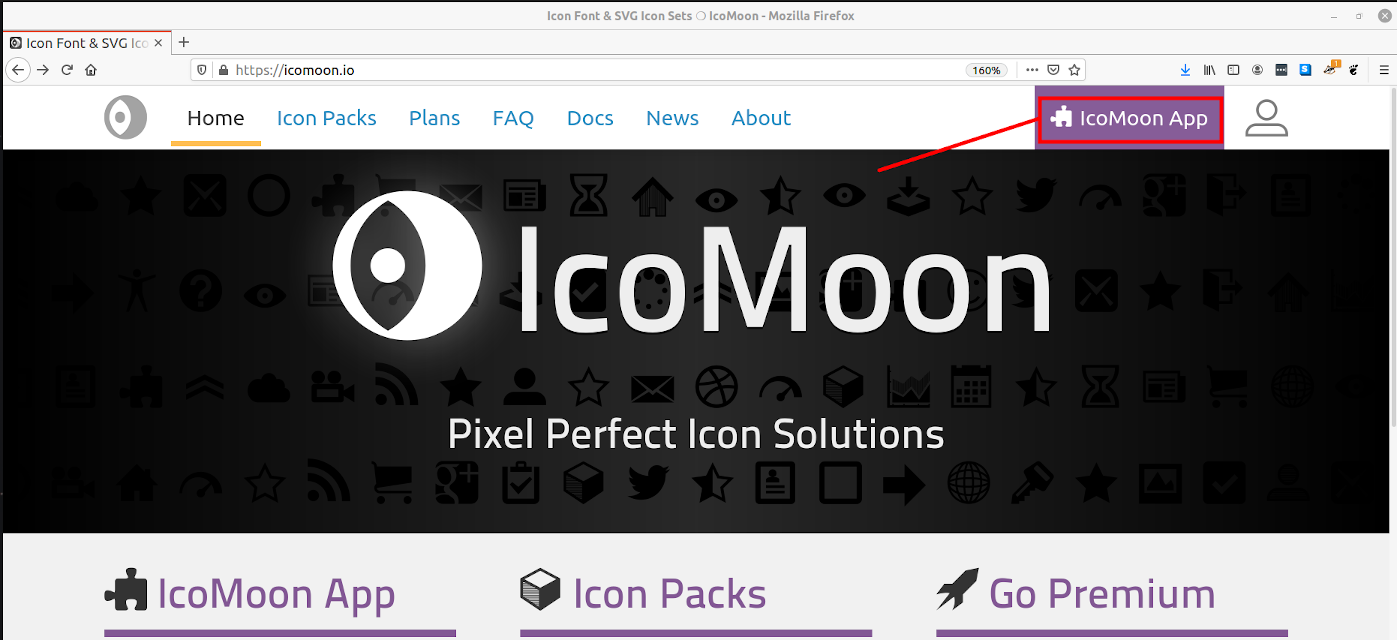
Now, browse to http://icomoon.io website. They make their money by selling icon packs, but draw you in with this custom icon service they provide for free. In the upper right, click the IcoMoon App link.
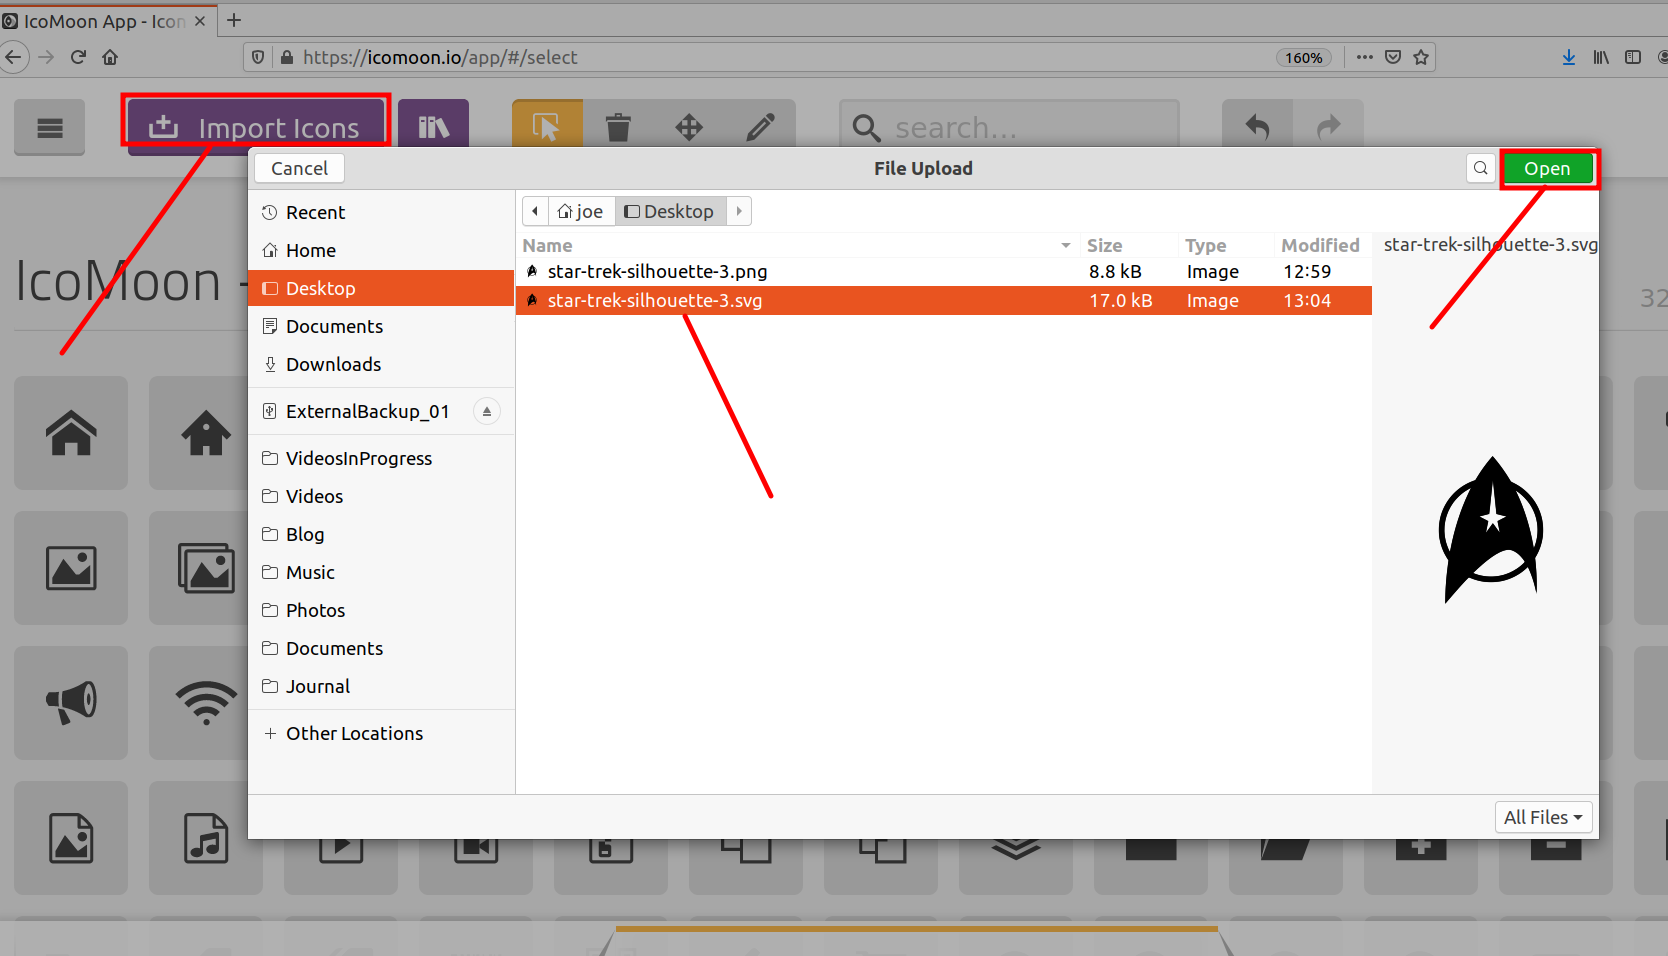
In the new page, you will need to upload the svg file you just created for processing. Click the Import Icons button, select the svg file, and click Open.
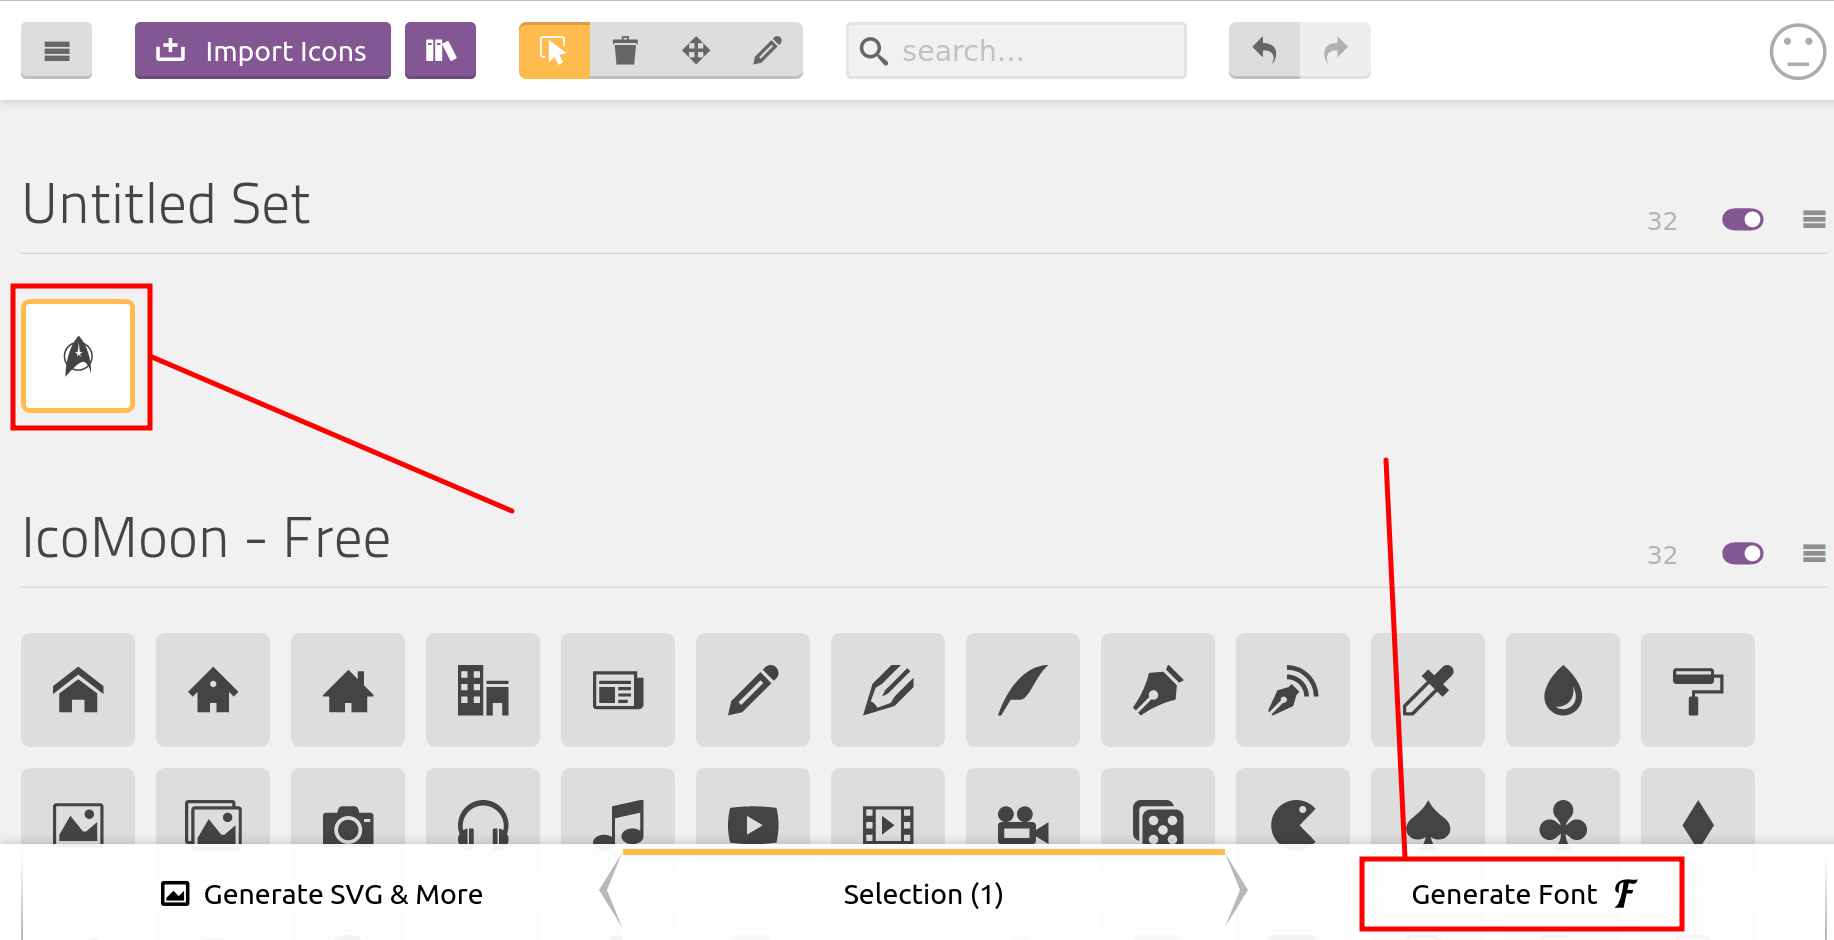
You should now see your image under the “Untitled Set”. Select your image so that it glows amber and then select Generate Font in the bottom right.
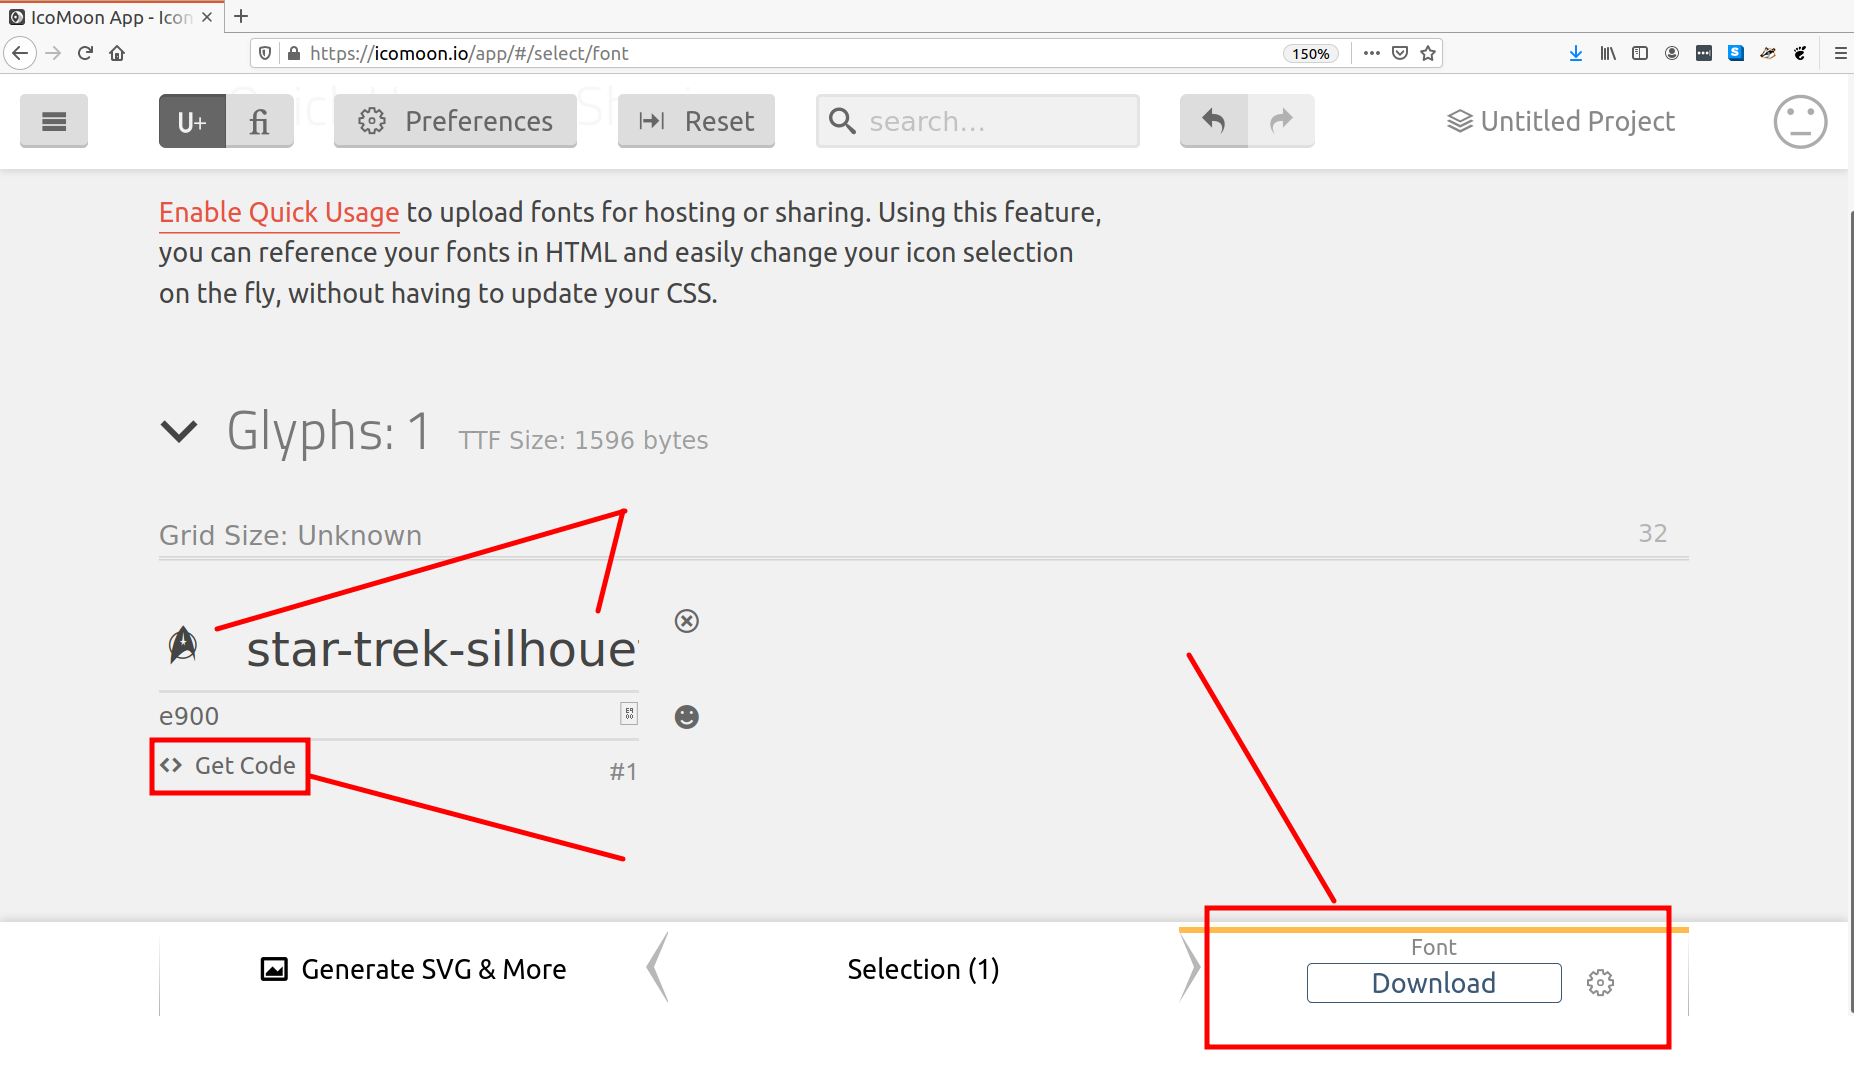
After processing you should see your icon in the results screen. Download a .zip file by clicking the Download button in the bottom right.
Now that you have your icons you will need to integrate the CSS and call the icon in your html. Extract the zip directory and look inside. The only files you really need are the style.css file and the fonts generated my icomoon. There are several schools of thought on how to make customize a pelican theme, but the one I subscribe is to not edit the theme directly (if possible) but rather include your customizations. Meaning, I won’t be editing the existing stylesheet, rather adding my custom one.
The stylesheets live in the theme/<theme_name>/static/css/ folder of my pelican theme. I renamed the icomoon stylesheet as style_startrek.css (because…why not) and moved it to this folder of my theme.
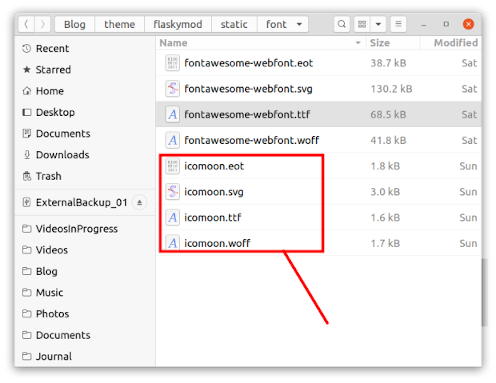
Now you need to move the font files. I am currently using Font Awesome and already have a font directory. In my theme this is simply theme/<theme_name>/static/font/. Looking in this folder I see a bunch of different files title fontawesome-webfont. Copy all the icomoon fonts into this folder. This is what the results looks like; notice both FontAwesome and my custom IcoMoon fonts.
Next, you need to slightly modify the style_startrek.css to point to the relative location of these fonts. In my case, it was ../font/<files>.
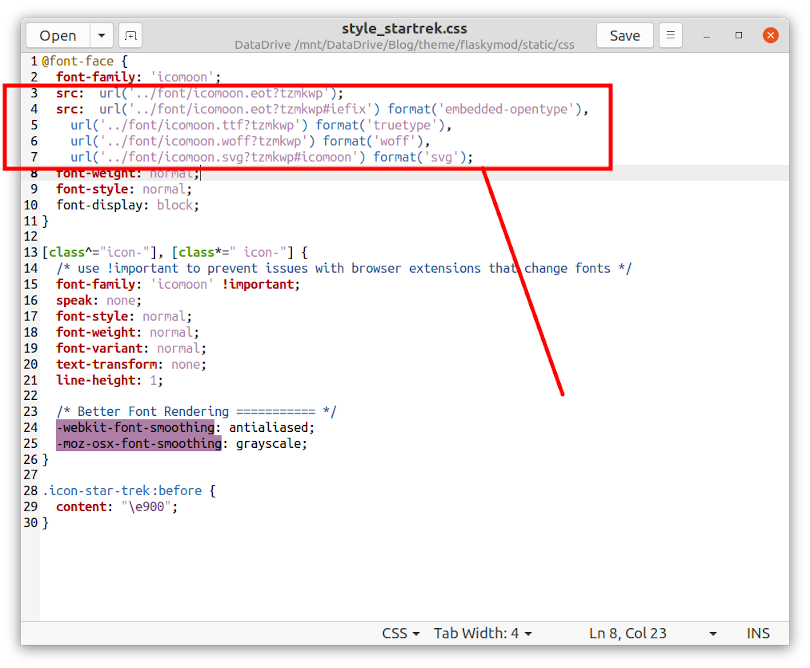
When I was first getting this work, I discovered that I could not get both FontAwesome and IcoMoon working at the same time. I had to comment out one or the other…which implied they were stepping on each other. After an hour of debugging I realized they both are trying to claim the same CSS class. The simply solution was to change the IcoMoon to something that didn’t start with icon-. I took the easy road and simply changed icon to staricon
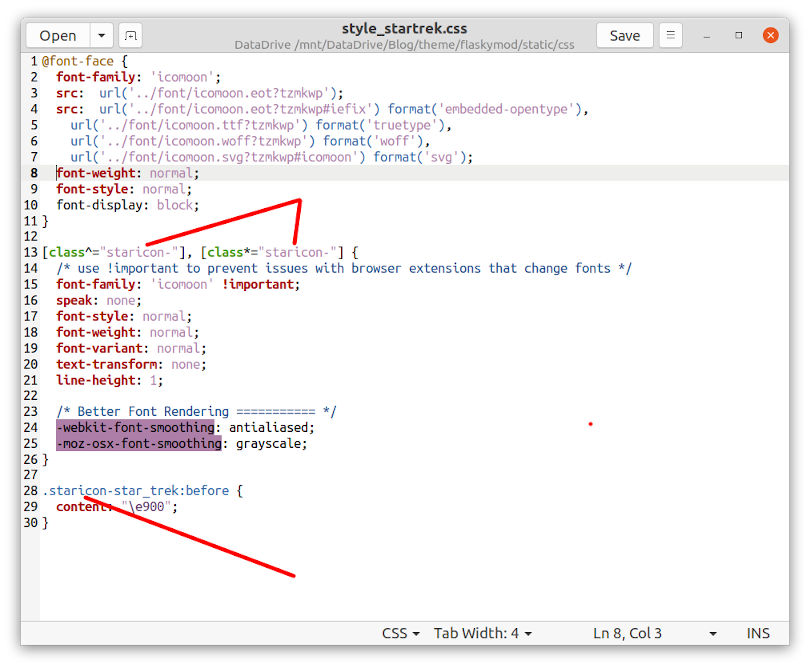
Lastly, add the icon to your html. This is accomplished by adding the class name you defined in the css stylesheet. In my example above, this was staricon-star_trek. Add this to the code:
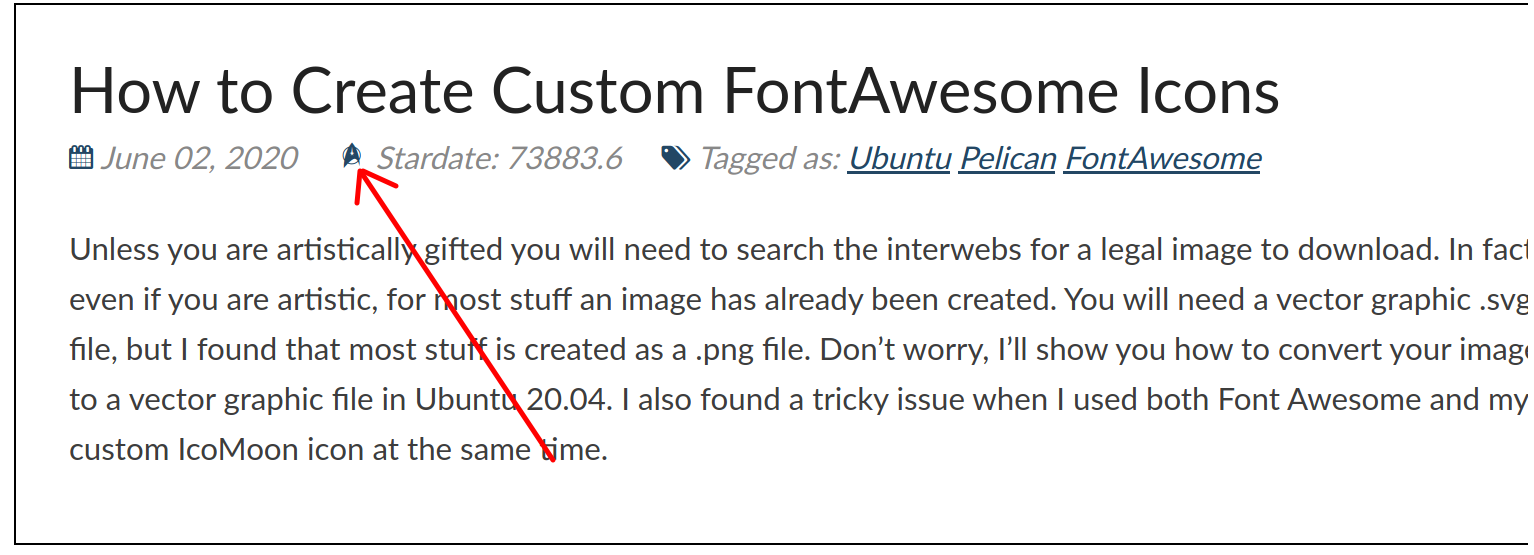
<span class="staricon-star_trek"></span>You can also do all sorts of neat styling to change the size, color, rotation, and other properties. In my case, I’m just adjusting the color.
<span class="staricon-star_trek" style="color: #234764;"></span>Here is the final result!
Software Versions
This is an automated list of software versions used during the writing of this article.
Software Version OS Ubuntu 20.04 LTS Pelican 4.2.0